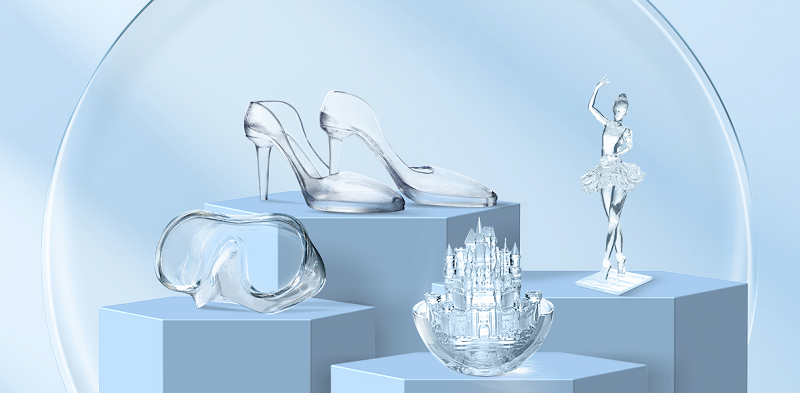
Anycubic High Clear Resin is a designed for transparent 3D printing. It is ideal for use in creating clear parts, such as transparent prototypes, architectural models, light fixtures, eyewear, and more. It significantly improves the yellowing resistance performance of 405nm transparent resin, providing crystal-clear results for users.
However, it requires longer exposure time and is more temperature sensitive, compared to standard resins. Therefore, we recommend you double check your slicer settings before using Anycubic High Clear Resin.
For obtaining high clarity during post-processing, it's important to apply a coat of Anycubic High Clear Resin on the print surface before curing. 3D prints with hollow structure in particular need to be coated with the resin from inside to the outside.
In this article, we'll guide on you how to use Anycubic High Clear Resin including how to adjust resin settings for 3d printers and how to post-process for a fine surface finish.
1. Resin Settings

Before printing, it is essential to take strict precautions to avoid direct contact with uncured resin. First, wear gloves and a mask, while working in a well-ventilated area. Then clean the vat and build platform to avoid color contamination.
The rule of thumb is exposure set at 25℃ (77°F):
High Clear Resin Normal Layer Exposure = Standard Resin Normal Layer Exposure×2+0.5 Second
If the temperature is lower, add 0.5 second exposure time per 5 ℃ (9°F) temperature drop at the first trial. Please DO NOT pour a large amount of cold resin into your vat while printing.
Here are the recommended printing parameters for Anycubic High Clear Resin on Anycubic 3D Resin Printers 25℃:
(For more information on print settings for other types of resin, I recommend checking out this resin guide.)

2. Slicer Settings on Resin 3D Printing Supports
Basic Support Settings

Elevate the model 10mm for easy support removal and then add high-density (Support Distance less than 3mm) medium supports on selected less-visible surfaces are recommended for the high printing success rate.
Intermediate Support Settings
As for lightweight structures, ultra-high density light tip supports are useful and easier for support removal. Please check for islands and manually add more support on it in this case. Long-distance bracings are needed for tall models.

The z-axis resolution of High Clear Resin is not as great as craftsman resin or standard resin. If you use the high clear resin to print an articulated 3d model with moving components like the shark above, which may exist large tolerance. Try changing the printing orientation, for example, place the details parallel to the vertical direction for the best results.
Advanced Support Settings

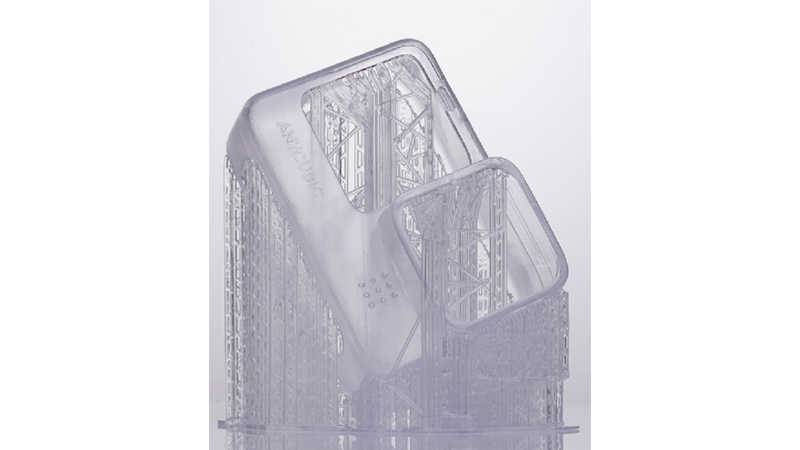
It is more difficult to print large heavy models with the cross-sectional area as well as suction cup structures, compared to small light models, because they are prone to print failure like warping or falling during printing. To reduce these risks with high clear resin, high-density medium supports to take tearing stress and long-distance bracing for shear stability are required, together with cutting and sanding tools to remove the support residues. Cone base, transition layers and stable room temperature are also beneficial.

For large solid models, supports shall be added uniformly on the structure to avoid torque bearing. Although high-density supports at the base are generated, print failure may still occur. For example, the ballet player above got printed, its contact with FEP went to the left and so did the separation force. In this case, the model got torn around the base and fell. Thus, uniform supports for load bearing ensure a successful print.

3. How to Post-Processing High Clear Resin Prints

After alcohol cleaning, layer lines and pixel lines are shown, causing light scattering and diffuse reflection. That is the reason why the print turns to be foggy and loses transparency after wash.
To bring the model back to crystal clear, first brush a thin layer of high clear resin back onto the model to cover the layer lines, then cure it in a curing station for 2 minutes.
Next, clean again the model with solvent and cure the model with a wet surface for another 2 minutes. Water or cleaning alcohol can isolate the model surface from oxygen in the air and achieve a better curing result, since oxygen can prevent resin from being cured. If the surface outcome is still not satisfactory, repeat the process.
4. Optical Data on Anycubic High Clear Resin

The yellowing degree test shows that yellowing fades away gradually in weeks when the model is placed in the dark. Higher than room temperature accelerates this process.

Transmittance is heavily impacted by surface finish and printing conditions such as layer lines and bubbles. This result only explains the transmittance of each resin in a different color range and does not reflect the overall optical transmittance of a resin.

After printing and curing, the refractive index of the object printed with Anycubic High Clear Resin is 1.50 in the visible light range.
5. Material Safety Data Sheet
Preview or download it: Anycubic High Clear Resin MSDS