We can't be sure that there won't be a single detail flaw in the 3D printing process, and sometimes printing too fast can cause problems with the rough surface of the print. When we can't get the most ideal result and want to avoid cost and waste of prints, we can get rid of some imperfections by post-processing. Let's talk about how to do post-processing and learn how it can also make your print more perfect.

Model printed with FDM printer Anycubic Kobra Neo
Method 1: Sandpaper Polishing
Sandpaper is the more common abrasive tool used for post-processing. First, you need to wait for the print to cool down so that the material does not overheat. Secondly, if the sandpaper does not give as good a result as desired, you can choose wet sanding. Wetting the model will absorb the excess heat from the sanding process, thus producing better results. You can choose a variety of sandpaper with different grit to sand the printed model, usually (400/600/800/1000/1200/1500) the lower number of the label, the higher grit of the sandpaper. You can start with a lower label to sand the print and then switch to finer grit sandpaper to polish a flatter surface.

Photo source: Tutorial video: How to post-process your 3D prints
Method 2: Acetone Polishing For ABS
Acetone can dissolve the ABS, which makes post-processing easier for models printed with ABS filament. Usually people polish the surface of the printed model with acetone vapor. It should be noted that:
- Acetone does not produce any reaction for PLA, cannot be used to polish PLA print models.
- Actone is a harmful chemical and high purity acetone is dangerous. If you choose to use it for post-processing, be sure to take precautions and be prepared. Be sure to understand how to use acetone and how to safely end this polishing and sanding process.

Photo source: Tutorial video: Improve your prints with acetone smoothing
Method 3: Polishing Solution For PLA
In fact, like acetone polishing, PLA polishing solution is useful because of its ingredients' ability to work on PLA. It is actually an acrylic binder diluted with water and the main component is a mixture of solvents, such as chloromethane or methane chloride. There are two methods of operation:
- Put the solvent into the operation bowl, dip a brush into the liquid and apply it to the surface of the printed model to be polished.
- Suspend the model holder with a wire or string and immerse it in the bowl with the varnishing liquid added. The soaking time does not need to be too long, about 8 seconds is sufficient.
Caution remains to be exercised in the use of chemicals, as chloromethane is also toxic and dangerous.

Method 4: Surface Sandblasting
This is a common polishing method and can ensure that the surface of the print becomes smooth. You can shop for a suitable polishing machine, there are convenient and good polishing machines on the market to choose from. The operator takes the nozzle to polish the model, the principle of which is to use compressed air as power. Has been sprayed by a high-speed jet beam to the surface of the model to be treated to achieve polishing action, the jet stream is faster than grinding. Regardless of the size of the model, the surface can be treated with sandblasting to obtain a smooth effect.
Method 5: Bonding and Assembly
If the models to be produced are large size, or more complex, they often consist of multiple parts or sections that need to be glued after printing is complete. Although these different parts of the equipment have been left to interface when the model is made, the vast majority of cases still need to be coated with glue and fixed with rubber bands to make the bond tighter. If there are gaps between the model parts, you can also use adhesives or fillers to solve this problem and make the model smoother.
Method 6: Painting on the Model
Spray painting method: The operation is relatively simple and more suitable for small models or fine parts of the model. In order to be able to spray the ideal role, before finishing the paint, test spraying and checking the work, whether the concentration is appropriate, and reasonably prevent the waste of resources or the destruction of the model.

Hand-painting method: It is more suitable for dealing with complex details, and 2 ~ 3 round trips are used to apply the paint when painting. This can lighten the brush marks produced during hand painting and obtain an even color. For smoother and more even paint application, you can lower the same brand of solvent and finish the dilution in the palette.
Why Are My PLA Prints So Brittle?
We also heard some voices like: I tried 3D printing, the work was done on the printer and it doesn't look bad, but why is it so brittle? Can post-processing make it better?
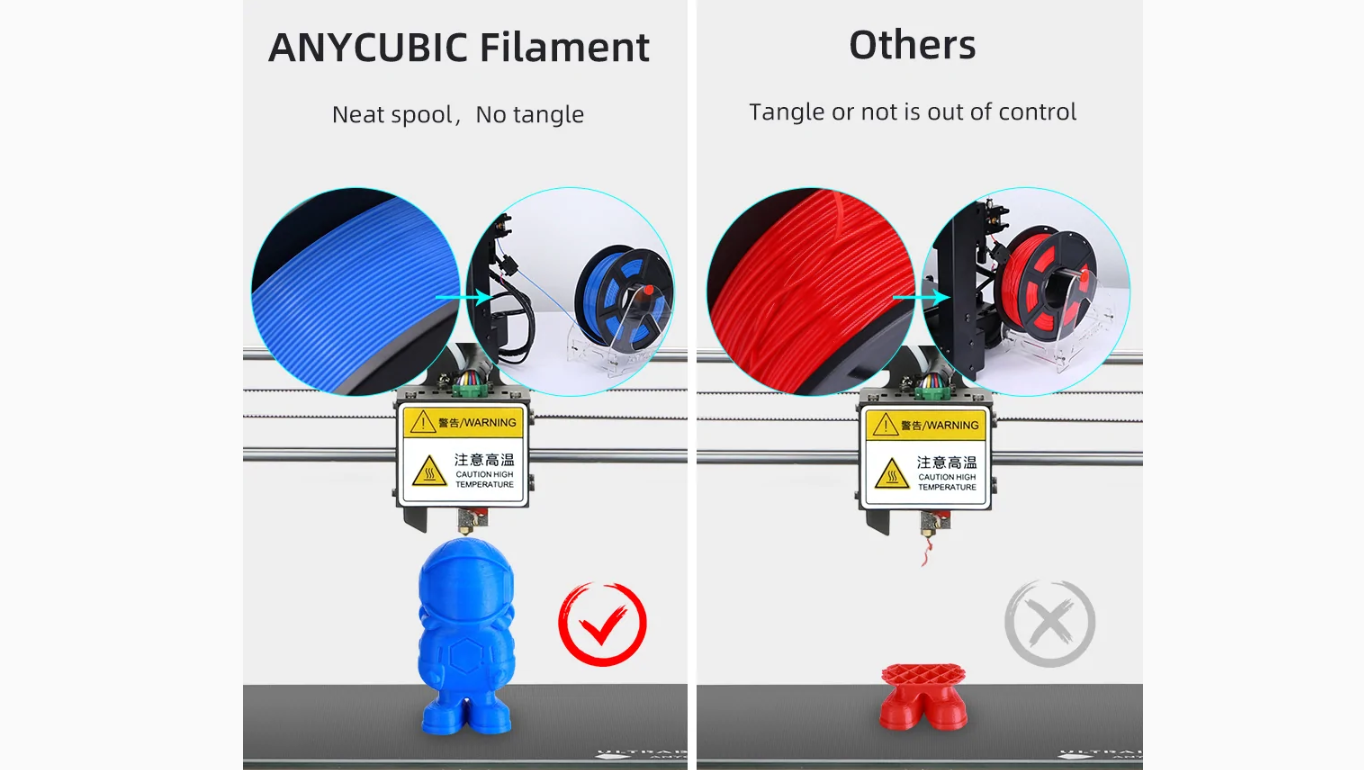
Post-processing is mainly done to fix surface imperfections on 3D prints or to make the print smoother. If the print itself is fragile, then it is recommended to check the filament or ajust the silce settings and z-axis compensation value before printing. The first issue is the filament, for example, choose high-quality filament for FDM 3D printing, then the print success rate is higher, the nozzle is not easily clogged, and the model will also be stronger. Another thing worth noting is the humidity. The damp filament can greatly affect the print quality, and after unpacking we need to keep it in a dry environment. If you want to know the characteristics and usage of PLA filament, or other filament like ABS, PETG, you can refer to our guide: Everything about FDM 3D Printing Filament.