UltiMaker Thingiverse is a popular website that offers free 3D printer files created by many 3D enthusiasts and designers. Within this vast 3D database, these digital designs are typically in .STL format for you to download, slice, and print. Using the Thingiverse website is very simple, and in just four steps, you can print a Thingiverse file on a 3D printer. Before embarking on your exploration, it is recommended to create an account so that you can easily follow your favorite designers and engage with the active community.
You'll Need:
- A MicroSD card
- A USB reader
- A 3D printer
- A spool of filament
- A computer or laptop
Step 1: Search for Your 3D Model on Thingiverse

When you open www.thingiverse.com in your computer browser, you will see a user-friendly and clean interface. On the homepage, you can explore popular 3D model designs recommended for different time periods through the top filters. You can also directly enter keywords of your interest in the search bar at the top, such as '3DBenchy' to test your 3D printer. Additionally, browse by category to find 3D models that you like. You can further explore by clicking on 'Explore' in the top left corner of the interface to follow designers on the website and join user groups.
Step 2: Download 3D File on Thingiverse

If you are new to 3D printing, it is wise to print models with simple geometries as it can increase the chance of success for your prints. When you choose the desired model in the search results, there are two ways to download Thingiverse 3D print files. The first option is to click on the top blue button 'Download all files,' or alternatively, navigate to the 'Files' section to download Thingiverse files individually. The platform typically offers files for download in commonly used 3D printer file formats, such as .STL files.
It's important to note that since most of these designs are created by 3D amateur enthusiasts on this platform, some files might have issues, potentially resulting in printing problems. We recommend checking the 'Comments' and 'Makes' sections before downloading as they often provide useful feedback on whether the file is printable.
Step 3: Slice the 3D File

Most Thingiverse 3D model files are in .STL format, but 3D printers cannot directly read .STL files. Therefore, you must use a slicer to convert them into G-code files. You can import a Thingiverse model into Cura software, which is a popular slicing tool. PrusaSlicer and Slic3r are also excellent alternatives to Cura. Prior to running the file through the slicer, it is necessary to configure the printer and print settings. The 'Thing details' section on the site contains useful information left by the designer, such as a summary, introduction, and print settings.
Step 4: Start 3D Printing Your Model
This is the final step in 3D printing an STL file from Thingiverse. Use your USB reader to copy the G-code file from your computer to the MicroSD card or TF card that comes with your machine. Then, insert the card into your 3D printer, and prepare your 3D printer filament. You can start printing, waiting for your object to be created with the magic of 3D printing.
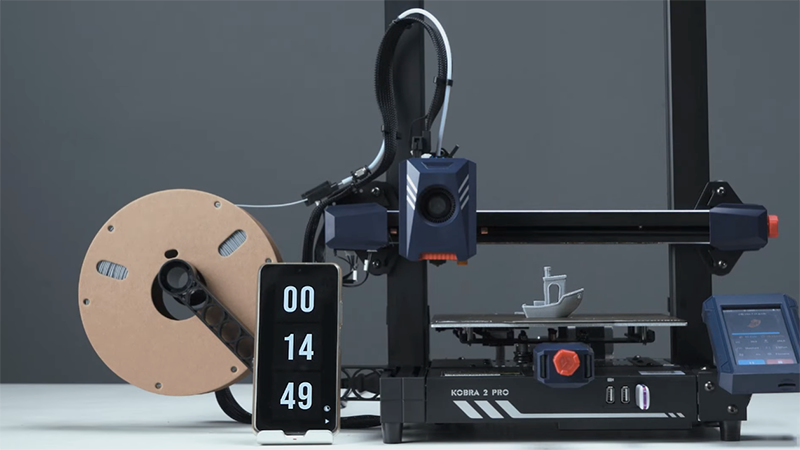
Anycubic's Kobra 2 Pro, a fast printer, can boost 3D printing speed, reaching speeds of up to 300mm/s to 500mm/s. According to test results from Anycubic Lab, printing a standard 3DBenchy test print takes approximately 14 minutes and 56 seconds.
In Conclusion
Using Thingiverse for 3D printing is very easy and involves four steps: first, search for your desired model; next, download the STL file to your computer; then, use a slicer to convert it into a G-code file; finally, transfer it to your printer for printing. If you're looking for more 3D model resources and sites like Thingiverse, you can consider Cults, Printables, and MyMiniFactory as Thingiverse alternatives.