Previously, we provided solutions to fix a rough first layer. If your bottom layer prints without issues, but you encounter problems with the top layer, it can be truly irritating. Today, let's explore rough top layer issues, specifically pillowing in 3D printing. This issue causes the top surface of your printed object to become uneven and may result in holes and gaps, creating imperfections. But it can be resolved by optimizing your slicer's print settings. This article helps you understand the causes of 3D print pillowing and how to resolve it, with the hope that you can always get smooth and high-quality prints.
Causes of Pillowing in 3D Print
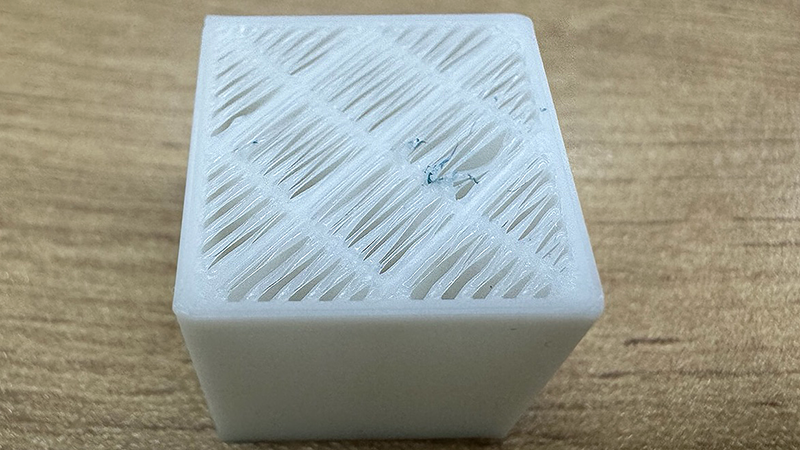
In FDM 3D printing, pillowing refers to a surface defect issue, typically appearing uneven, pillow-shaped on the top of a model, along with bumps, gaps, and holes. There are many reasons why your 3D printer may experience pillowing, but temperature and infill are the most significant factors. Incorrect print settings in your slicer can result in insufficient infill support for your printed parts, as well as inadequate cooling and weak top layer. These will cause the top layers to become thin, sag, and potentially collapse. The possible causes of 3D print top layer pillowing are summarized below.
- Insufficient infill support
- Weak and thin top layer
- Inadequate top layer cooling
How to Stop Pillowing in 3D Prints
1. Strengthen Infill Structure

Increasing infill density and changing to a stronger infill pattern can enhance the whole infill structure, helping to solve pillowing issues. Higher infill densities result in a higher filling percentage, making objects more robust, but also requiring more filament. For example, 100% infill is solid, while 0% is hollow. Around 20% infill density is typically enough to support most models and reduce pillowing on the top layer. Additionally, using a strong infill pattern can also improve pillowing issues. Patterns like concentric and lightning available in slicers like Cura can efficiently support top layers while requiring less material.
2. Increase Top Layer Thickness

If the top layer is very thin, the printed object is more prone to deformation and layer sagging, leading to 3D printing pillowing issues. So, you can strengthen the top layer by increasing the top thickness value in the slicer. This is similar to preventing 3D print warping and improves the bed adhesion of the first layer.
Here's a formula to help you calculate the optimal top layer thickness. It is recommended to set the top layer thickness to be 5-6 times thicker than that of other layers. In other words, for example, if you are using a layer height of 0.1mm, you would need a top thickness of 0.5-0.6mm.
3. Improve Top Layer Cooling

The hot end fan is an indispensable component of a 3D printer's cooling system, particularly when printing at high speeds. To fix 3D print pillowing, it's essential to first enable print cooling and ensure that the fan is operating at 100% speed on the top layer. Anycubic Kobra 2 Pro FDM printer has upgraded its cooling system to achieve a fast printing feature. With a maximum speed of 500mm/s and a standard speed of 300mm/s, this requires the Kobra 2 Pro to rapidly cool the print layers during printing to reduce pillowing issues.